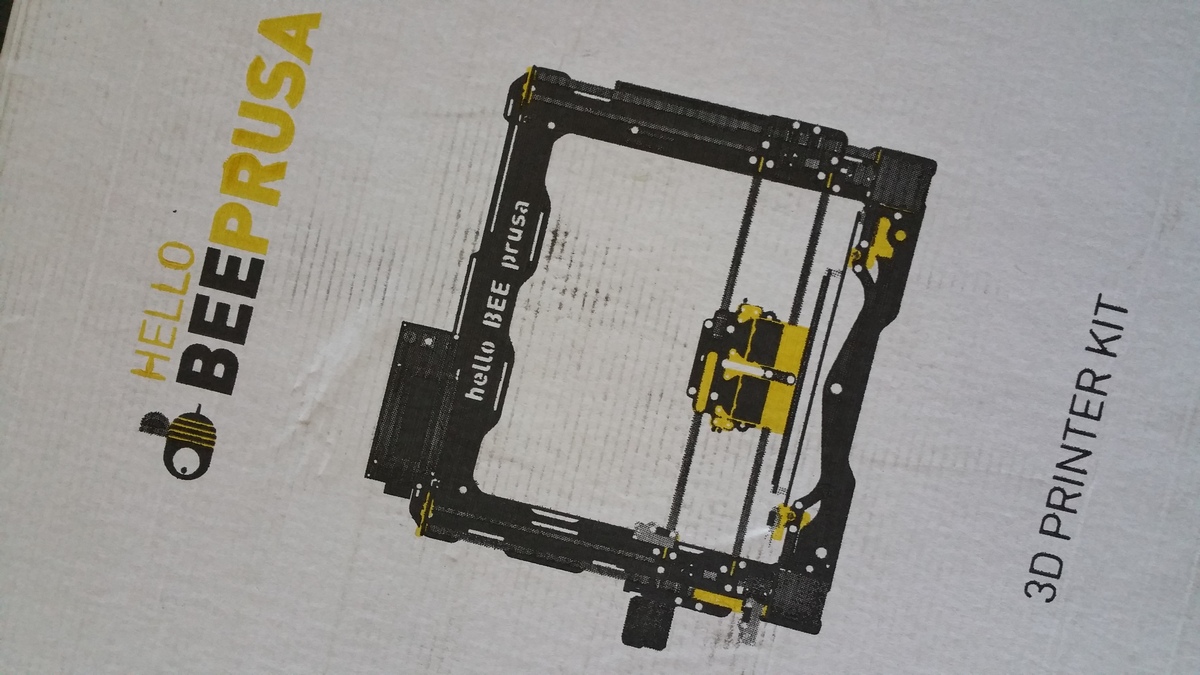
3D printer has arrived!

After nearly a month long wait my Bee Prusa 3D printer has arrived.

I don’t blame The 3D Shop – who I purchased it from, as their stock was held up by customs.  Just the usual trials of international freight!  They did however keep me appraised of the situation, which was good.

I bought two rolls of filament to go with the printer (since it has two heads) – PLA and PVA.  PLA is mostly good for prototyping, or projects where structural strength of the plastic isn’t important.  PVA filament (yes, it’s the same as the glue!) is great for printing scaffolding.  If your design required support as it is laid down, then PVA is very convenient, once the print process is complete, then the object can be placed in warm water, and the PVA scaffolding simply dissolves away.  It’s very clever and one of the principal reasons that I opted for a twin head printer.

So, the next step is I need to complete my second generation photographic stage (complete with inbuilt LED lighting, mount for camera, power supply for 240V AC, 12V and 5V DC and more.  It’s going to be great and it will let me make a good clear film of the assembly process for the machine.

Learning about potentiometers

As part of The Midnight Clock’s development I am currently learning how to detect the position of a dial using an Arduino.  It’s a relatively simple task – namely, monitor the voltage at the middle leg of a potentiometer using an analog input on the Arduino.

You can see the official Arduino tutorial here: https://www.arduino.cc/en/tutorial/potentiometer

What I discovered was that while the tutorial is correct, the reading from the potentiometer fluctuated (sometimes quite strongly), even when the pot wasn’t being turned.  Now it could be that I have a bad pot that is rather “noisy”, but some googling revealed that this is a common problem with potentiometers.

In my experimentation I am using the detected value from the pot to set the brightness of an LED.  If I simply take the detected value (between 0 and 1023) and use that to set the brightness of the LED (a value between 0 and 254), then it results in a mini “disco” on my breadboard.  The LED flickers higher and lower than the set point.  It’s not good enough for doing real work, especially in a lighting situation where subtlety is required.

There are several solutions to this problem:

  1. Improve the quality of the circuit – this is definitely the first step.  I am currently using a bread-boarded circuit, so it’s likely that I have some connections that are adding noise to the signal
  2. Buy a better quality potentiometer! Accuracy varies between different types of potentiometer I am told
  3. Use a running average of the potentiometer’s output rather than individual readings.  This works, more or less and it is the simplest solution
  4. In addition to calculating a running average, I could attempt to smooth out the signal from the potentiometer by adding a small capacitor to the circuit, from the potentiometer’s middle leg (connected to the analog input pin of the Arduino) to the ground rail
  5. Use an incremental rotary encoder instead of a potentiometer – incremental rotary encoders give a direction and a speed of turn that can be interpreted.  They are what you find in the volume control of modern stereo receivers – you can turn them forever in either direction, and the receiver interprets that as a command to increase or decrease the volume.  This is probably the best solution, but it is quite code heavy and can eat up a lot of an Arduino’s limited memory.  You can read more about them here: http://playground.arduino.cc/Main/RotaryEncoders
  6. Finally, you could use a digital potentiometer and avoid the issue of noisy analog systems all together.  You can see an example here: https://www.arduino.cc/en/Tutorial/DigitalPotentiometer

I will work through these options and report back.