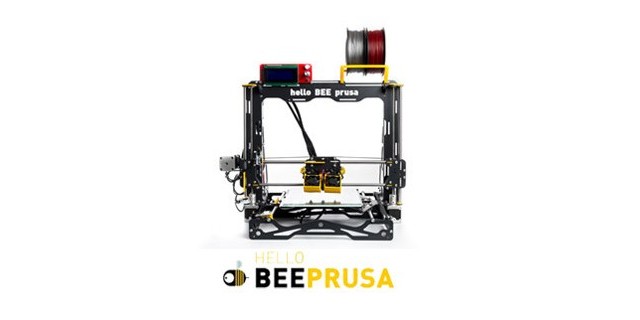
Update: the supplier expects to have stock in on Monday 15th. So I should have a printer by the end of the week!
I came to the realisation that many of the projects that I am planning would benefit greatly from being able to 3D print parts (like cases for electronics).
To that end I have just ordered a Bee Prusa 3D printer from The 3D Printer in Melbourne (https://www.the3dprinter.com.au/) at a cost of AUD$958. Note: the price of the same unit direct from the manufacturer is about AUD$200 less, however, the shipping cost from Europe was $250 approximately, so it made more sense to buy locally.
Why this machine? A few reasons:
Cost – the Bee Prusa is very cheap for its capabilities (more on that later). It’s equivalent to $3000 in functionality.
Self assemble – to sell so cheap, Bee leave out the assembly, which is fine by me. I love to tinker and build and it will make for some interesting content to post here.
Functionality – the Bee Prusa has dual extruder heads, maximum head temperature of 300 degrees celcius, a heated platform, support for a very wide range of filaments, a large printing volume for it’s class (approx. 200mm cubed) and best of all a minimum print thickness for 20 microns (!). Unless you are prepared to spend a LOT more money, you aren’t going to do better – at least on specs.
It also seems to have a good reputation for reliability and usability. Time will tell on that front I guess, but I am optimistic.
Downsides are, no direct computer connection. You have to put the file to be printed on an SD card and transfer the card to the machine (not a big problem really). The bigger issue for the Bee Prusa is that it isn’t enclosed.
There are two problems with this. The first is that hot plastic off gasses nasty smells which may be harmful – and should be ventilated! The other problem is that without an enclosure the work piece can cool too quickly. This can be a problem with some of the more exotic printing filaments as rapid cooling can lead to warping and inaccuracy (and even print failure I expect).
Some quick googling reveals that there is no inherent problem with fabricating a simple enclosure around the entire unit. I will likely make something in clear acrylic and ideally add a small extractor fan to it to vent nasty gasses.
There’s a lot more to be said about the Bee Prusa, but I will save it for another post.

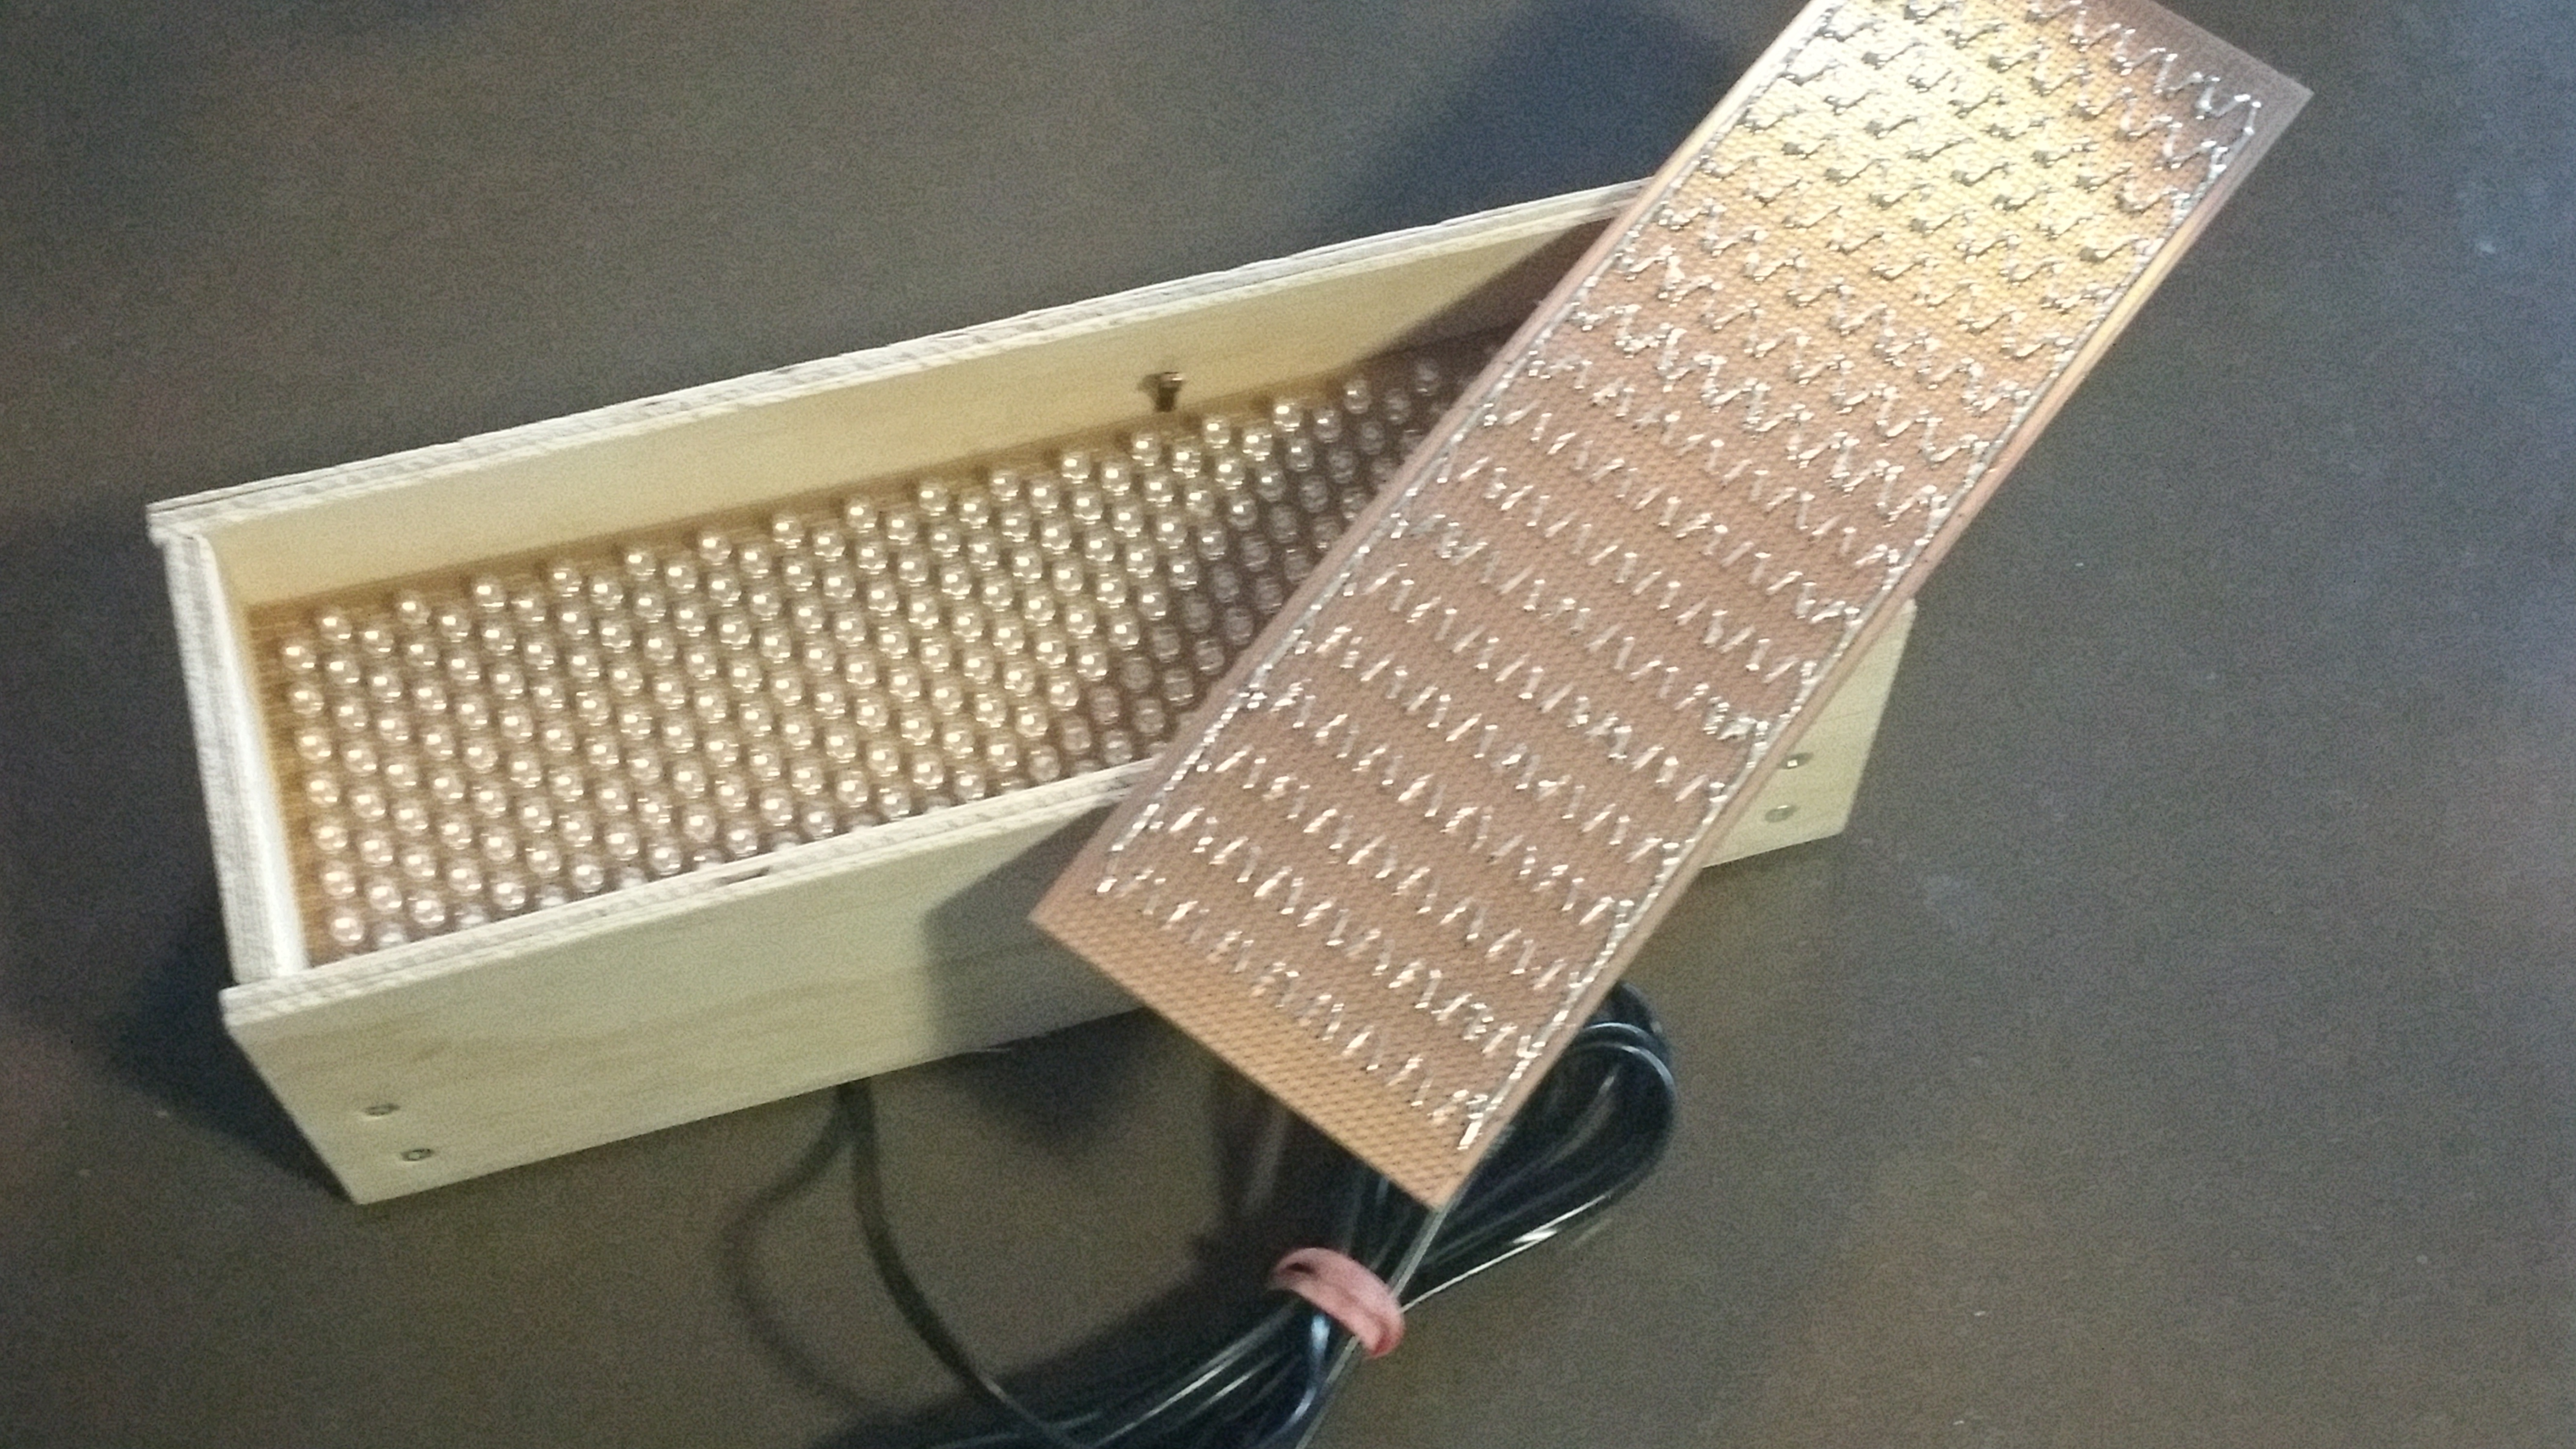
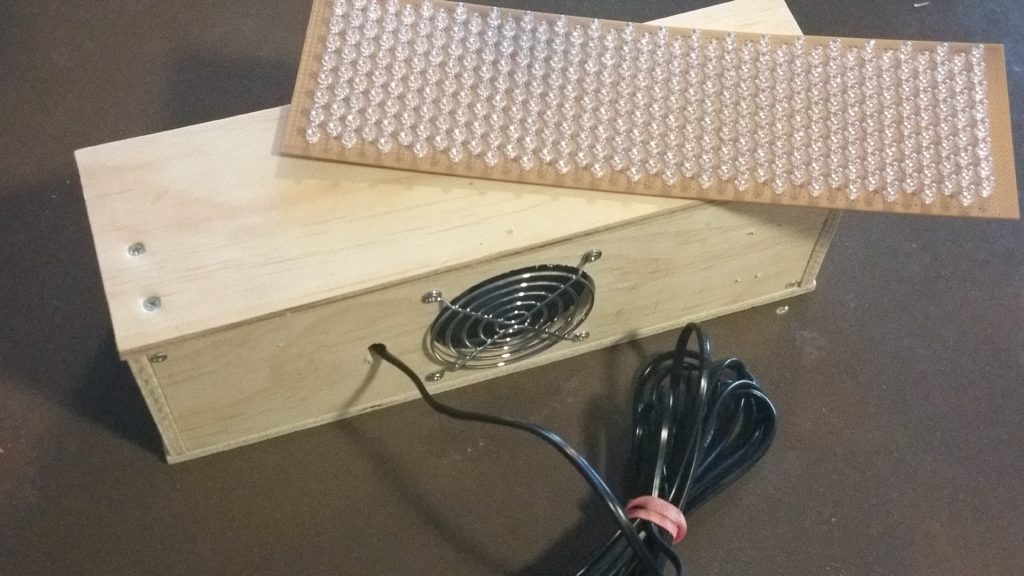 Building the spotlight was an interesting project. It uses 304 infrared LEDs that emit infrared light in the 940 nanometer range. The LEDs have a beam angle of 15 degrees, so the light is reasonably focused without needing a lens on the front of the unit.
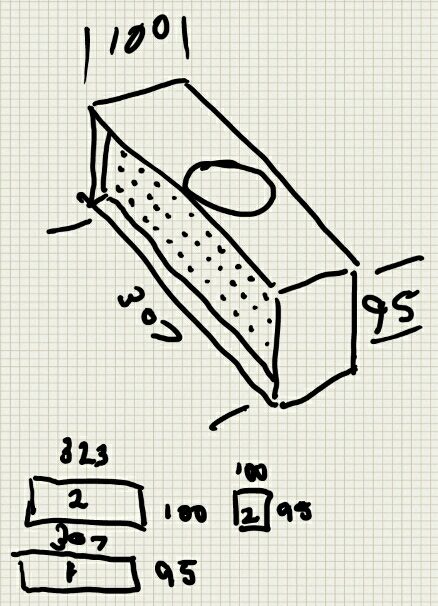 I came across an old sketch that I made of the housing, so I thought I would add it in. I have another set of LEDs mounted and soldered in to another board to make a second unit one day, so it’s good to have the original housing drawing. Note that the cooling fan ended up on the back of the unit rather than the top as suggested here.